We swung by Sydney, and stayed with friends and Chloe the wonder dog.

Goa. Wow. I think our heart rates slowed down to 30 bpm during our time in Goa. Laid back, beautiful.
We first arrived in Arambol, which though beautiful was a bit too duff-duff for us. After a few days we headed down to Agonda. This was a beautiful place, and we spent an extra week and a half mooching around the beach.
Sigh. Miss it.
Here are some images from our amazing visit to Kathmandu …
We survived!
The fact that I am writing this tawdry tale, tells you that we managed to get through our 15 day Himalayan trek to the Khumbhu region of Nepal relatively unscathed. It was a fantastic experience, with long hikes, altitude, momos, yaks galore, a cyclone and breathtaking beauty. We are definitely changed people for it. For example, showering is now optional.
In an attempt to help others, please find below some notes and suggestions based on our experiences. I haven’t gone too crazy on route details, as there’s tons of better guides out there. What’s below is a quick summary and a list of random things.
Choosing The Trek
Many folks choose their trek while overseas. We met a lot of groups who fell into this category, and on the whole they seemed to be led by competent guides and well equipped porters. That said, we decided to hire a porter/guide in Kathmandu because (i) It is cheaper; (ii) In theory more money goes to Nepalis; (iii) We forgot to sort anything out beforehand. We therefore had a crazed couple of days chatting to bazillions of trekking agencies in the frenetic neighborhood of Thamel in Kathmandu. It was fairly daunting because asking all the ‘proper’ questions about things like guide/porter insurance, medical procedures for evacuation, whether the agency was a TAAM member, all resulted in a resounding “Yes Sir!” and certificates being proudly presented. In short, there was very little to differentiate the agencies. To make things more difficult, due to the huge number of very similarly named agencies – it reminded me of Monty Python’s Life of Brian People’s Front of Judia sketch – it’s near impossible to do any internet searches to find reviews and feedback. In the end we went with an agency called SWISSA, on the simple fact we had a friend who had used them previously.
I mention all this because having been on the trek, I think the best way to choose is probably to see if you can get a recommendation for particular guides or porters directly. The agency is of course also important as they coordinate when things go wrong – for example, they confirm with your insurance company if you need medical evacuation – but for the most part the individual guides and porters have the most influence on your trek. If you can find known good ones, then I think that’s a great start.
We eventually opted for a 16 day trek of the Everest region, to include Gokyo valley and Everest base camp. That was the initial plan anyway! Due to a cyclone, this ended up being our 15 day route …
Day 1 – Getting to Lukla
Day 1 was a flight to Lukla, perched in the mountains and under an hour flight from Kathmandhu. The airport is reputed to be very dangerous, but actually if you do a little research you’ll find there hasn’t been a crash there for decades. Pretty amazing considering its location. Due to the sensitivity of this airport to weather, flights are regularly delayed/cancelled/lost-down-the-back-of-the-couch. Earlier flights (7-11am) are considered better as it’s more likely later ones will be cancelled when clouds roll in, but the discerning traveller should assume that travelling on a given day might not be possible.
Oh the madness.
There is not really a concept of queuing and flight schedules for this route seemed to be mythical things, posted for ironic reasons only. It was utter chaos trying to get on the flight at the airport. Huge groups of people waving slips of paper at impassive and hardened airline reps. Rumors and gossip spread through us all like wisps of smoke, nobody really knew anything. We waited 6 hours, at one point they actually drove us to the plane and showed it to us, then turned around back to the terminal. Torture! Our flight was at 9am, we finally flew out at 3pm. It turned out we were actually quite lucky, being the last flight of the day before weather shut operations down.

Waiting for the flight to Lukla. And waiting. And waiting. And waiting …
The flight itself was beautiful. Flying over the foothills ever higher towards to high Himalayas. It was fairly cloudy so we didn’t get the full vista, but it was lovely to look up at villages on high valley sides, before finally popping over some high ridges and landing at Lukla.
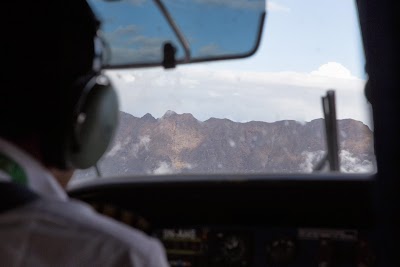
Errrm, you’re going to fly OVER that right?
We were met at the airport by our SWISSA porter and guide Ghanashyan and Janak, young blokes who were to be our companions for the next couple of weeks. Since we’d had quite a long 24 hours of packing and flight lunacy, we opted to stay one night in Lukla before starting the trek in earnest.
Interestingly, this first night saw the one and only case of mild altitude sickness on the trek. I woke in the middle of the night with a splitting headache, which being unusual for me I can only attribute to the altitude. Lukla is at 9,383 feet (2,860 m), which isn’t super high, but nevertheless a jump from Kathmandu. In retrospect we probably should have pushed on a little that first day to descend a few hundred meters, sticking to the “Hike high, sleep low” rule. I forced myself to drink water and go back to sleep, and by the morning all was well.
Day 2 – Trek to Phakding
This was a lovely, easy day, ambling up the valley towards Namche Bazaar. Pretty little villages, footbridges and the sound of the river made this walk on a sunny day a joy. We stayed in a place called Phakding.
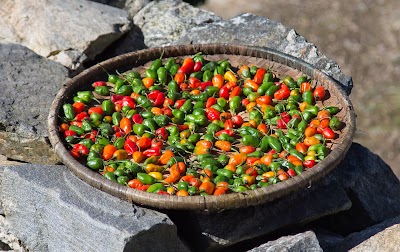
Yum. …….. ouch!
Day 3 – Climb to Namche Bazaar
This was one of the more strenuous days. Once over the high footbridge at the bottom of Namche hill, the climb is, well …. up. We went slowly, breathing deeply and drinking lots of water. Amazing to watch the porters zip past us, carrying unfeasibly heavy loads (50+ kgs). It was worth it to arrive at the top and get to our Tea House, the “Hill-Ten”. We got a corner room, which meant it had two windows looking out onto Namche and the surrounding mountains. Absolutely beautiful.
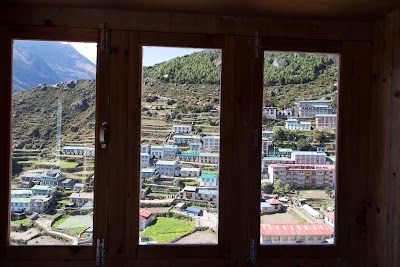
Corner room view of Namche, at the Hill-Ten tea house
Day 4 – Acclimatization Day
It’s advised that folks spend a day in Namche to acclimatize, and to use it to hike up to the Japanese “Everest View” hotel. Not to disappoint anybody, we did exactly that. We left quite late in the day and so didn’t hold out hope of seeing Everest, but it turned out we were lucky as we had an amazing sunny day with stupendously great views of the Lohtse ride and Everest peeking over it. After a very expensive cuppa at the hotel we headed back down to Namche.
During dinner we heard talk that a lot of snow was forecast. One group’s guide actually had a number at an expedition at Everest base camp, with associated meteorological connections. We went to bed assuming we might have to delay progress the next day.
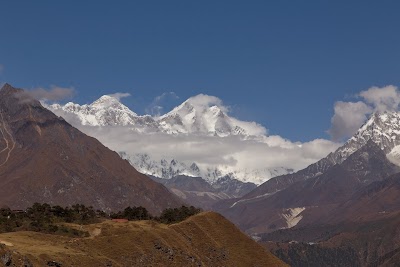
Everest peeking out over the Lohtse ridge. Naughty Everest.
Day 5 – Hike to Mong
A sunny day, so we pressed on. This route was a lot of up and down (well, it is the Himalayas I suppose). It started out very enjoyable due to the huge wide open valleys, but as the day went on, the rain started. The last hour or two were a bit of a sloshy slog!
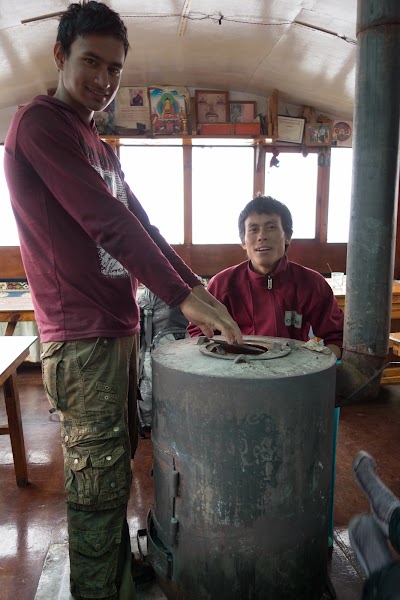
Our guide and porter Janak and Ghanashyan, drying out after squelching to Mong
Days 6,7 – Sitting out the storm
On arriving in the tiny pass of Mongle just before the Gokyo valley (the locals seem to call it Mongle, but maps say Mong), we decided to sit out the storm rather than try and head up higher. It turns out this was exactly the right thing to do, as we soon found out we were experiencing the unseasonal effects of cyclone Phailin which rained on us (and snowed higher up) for 3 full days. Curiously Mongle had intermittent 3G access, which enabled us to check the satellite maps of a big old swirly thing heading up the bay of Bengal and over Nepal. I did a bit more research to try and figure out avalanche risk, only to find that indeed Gokyo was prime avalanche territory, with a major accident in the 90’s killing tens of trekkers. Putting two and two together, going up Gokyo after the snow didn’t see like a good idea either, because that’s when the sun would start melting. Later, talking to traumatized trekkers coming down, this was indeed the case. Many had to run through avalanche alley. Luckily nobody was seriously hurt, but some yaks were killed and guides knocked down the valley.

Your intrepid author, lazing while the storm passed
We thoroughly enjoyed spending time time with the Nepalese family who ran the tea house. It was a lot of fun drinking gallons of lemon tea and learning new card games.
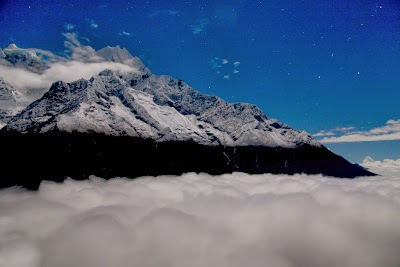
The skies cleared, and clouds crept up the valley. This pic is by moonlight
Day 8 – To Phortse
A short up-down hike from Mongle, we headed out on the first clear day after the storm to Phortse. We spent an eery day hiking around in the fog.
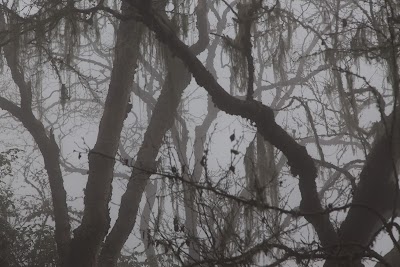
OOOoooOOOoOOoOOOOOOoooo!
Day 9 – Up to Shomare
Some other Spanish trekkers mentioned this section as “Arriba y abajo” (“Up and down”), and they were not wrong! A beautiful walk, for the first time we were en route amidst towering white mountains. We opted to stop at Shomare rather than push on in order to stick to our slow ascent strategy.
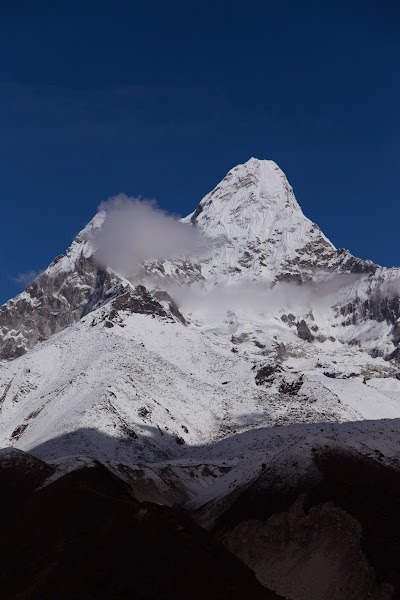
Getting all mountainy
Day 10 – To Dingboche
This was a fairly gradual day up above the tree line to Dingboche. The gradient wasn’t very steep, but the altitude started to take effect. The views of the Lohtse ridge and Lohtse were stunning. Dingboche itself was a more substantial village that we expected, with yet more bakeries and loads of tea houses.

Day 11 – Up to Chukhung
Since we had ascended very slowly, and spent 3 days in Mong, were decided to push on to Chukhung rather than take the recommended rest day. This was because we were running a little low on time and I wanted to try and get up Chukhung Ri if possible.
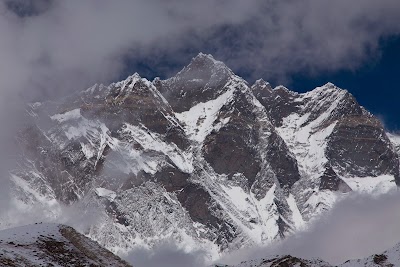
Lohtse Ridge
The hike was quite tough, due to the fact we were in the snow field, at higher altitudes and the sun was shining so it was hot! The views were worth it though, surrounded by ice walls and towering peaks. Chukhung was a small collection of surprisingly comfortable tea houses.
Day 12 – Up Chukhung Ri and back to Dingboche
Starting at 7am, our guide Jakan and I struck out to Chukhung Ri, a 5550m meter “Hill” behind Chukung. The day was stunning, not a cloud in the sky. I cannot deny the altitude in the last few hundred meters got to me, very slow going and I wondered if perhaps another acclimatization day might have been a good idea. Nevertheless we got to the ridge with prayer flags and turned left to the smaller 5300 meter peak. I actually thought this was Chukhung Ri, but checking the maps afterwards, I think we should have turned right and walked another few hundred meters up! Oh well, next time.
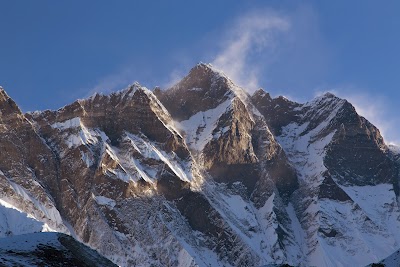
Sunlight hitting Lohtse

View, GASP!, From, GASP! GASP!, the, GASP!!! …. TOP! ….GASP!
We legged it down, and all of us headed down to Dinboche, where we ate cakes.
Day 13 – Dingboche to Errrr, Place just before Tengboche
We walked down to a small place just before Tengboche, to avoid the Tengboche rush. The tea house was called Rivendell, but I don’t think it was THE Rivendell due to distinct lack of elves.

I lost the staring competition
Day 14 – Place just before Tengboche to Namche
We spent the morning wandering around the monastery of Tengboche. It’s truly a beautiful place, set in an amphitheater of mountains. I can see why folks get spiritual here. I ate a chocolate croissant.
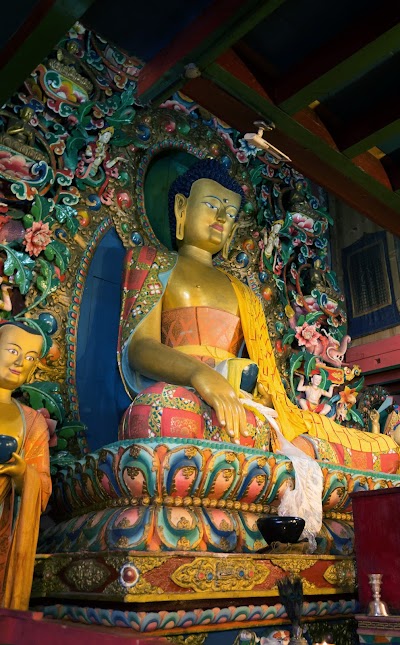
Tengboche monastery
Dropping down from Tengboche, we had quite a long trek to Namche. That night I drank beer and ate Yak steaks (don’t).
Day 15 – Namche to some place before Lukla
Sorry, I didn’t catch the name, but it was a lovely tea house!
Day 16 – To Lukla and flight out
A long trek to Lukla, an amazing lunch with beer, then luckily we got the last flight out to Kathmandu.
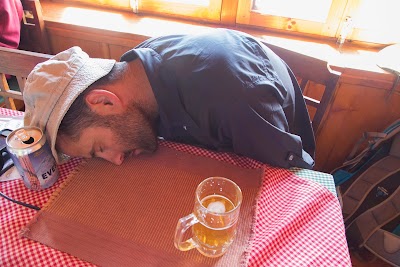
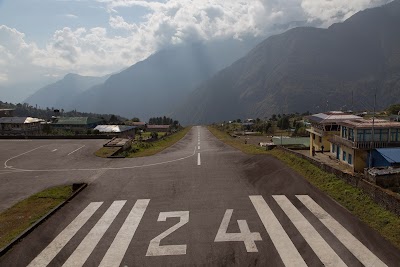
Falling off the edge
More Pics, and even some movies
I had a bash at timelapse, take a peek here. More photos can be found here.
Top Tips
As mentioned above, the internet abounds with packing lists and tips for treks. I include some that applied to us below, in case they are useful …
– Go slow, drink water
Obviously I’m not the first to mention this, probably the most important thing I can stress. We forced ourselves to drink 4 litres of water a day, and always opted for a slower ascent (typically less than 300m a day). This made the trek so much more enjoyable, and we didn’t suffer from any altitude issues after the first day. We met lots of people rushing up – young and fit – only to see them limping back down with altitude sickness. It’s not worth it, go slow and stick to the recommended pace, force yourself to drink ridiculous amounts of water – if you’re sloshing, you’re doing the right thing.
– Electronics
I opted to carry my own gadgets as I am an unapologetic nerd. All my electronics, plus rain jacket and water bottles amounted to about 13kg! This included …
– Medication
It is obviously better to get things via your doctor, but worth noting Kathmandu has all the medication you might need.
– Hygiene
We didn’t get any food issues, I think because we (i) Ate only vegetarian (Momos and Dal Bhat); (ii) Washed our hands with soap and water as often as the frost bitten fingers would allow; (iii) Used hand sanitizer before every meal.
Importantly, to avoid using plastic bottles, we opted to refill our own water bottles and use sterilization tablets. It’s very important you use Iodine tablets rather than Chlorine, as apparently this kills bacteria and Giardia, where Chlorine only kills bacteria.
We took lots of anti-bacterial wipes as showering wasn’t an option for many days. Let’s not dwell on this.
– Tipping
The guide and porter get somewhere between $10-20 a day, but they also have to pay for food and accommodation, and so the final amount they get is very small. We would strongly recommend tipping 20% of their total. They do an amazing job.
– Guide Book
We used “Everest: A Trekker’s Guide” by Kev Reynolds, very good book to have on the Kindle.
I hope to add some more detailed posts about our Nepal Trek up to Chukun Ri (5550m) in the next few weeks, to include exact route and tips on what to take etc. In the meantime, please find below some images for our trip …